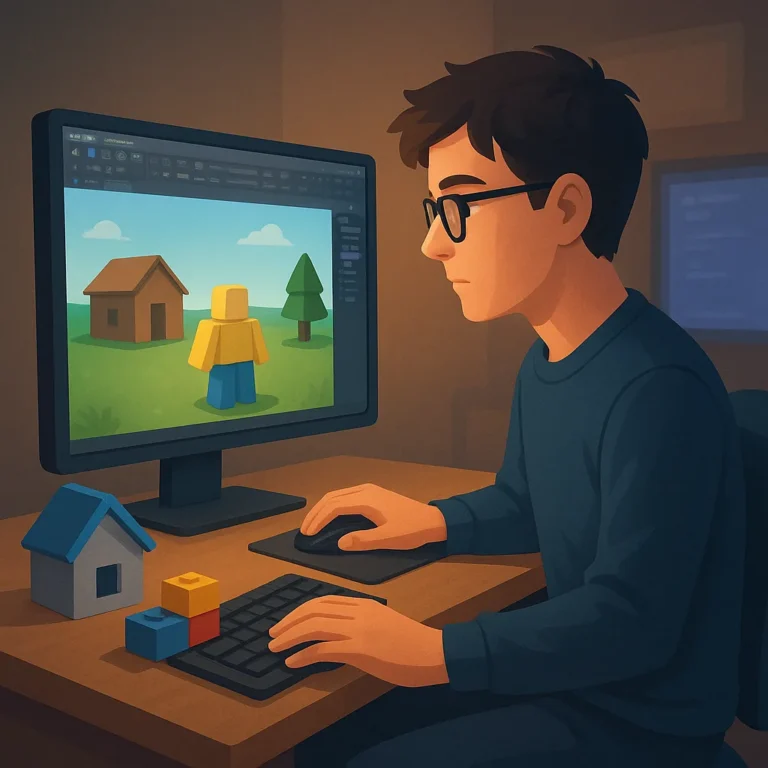
Roblox Studio turns a rough idea into a place players can enter, explore, and understand. You do not need advanced code or a huge team to begin. A small project with one clear objective teaches more than an unfinished ambition, especially when each building decision supports a simple, testable experience.
This beginner path focuses on creator skills rather than promises of quick rewards. You will choose a concept, assemble a map, add an interaction, test the result, and respond to feedback. By the end, your game may be modest, yet it gives you evidence, practice, and a foundation for improvement.
Set Up Roblox Studio
Begin by installing Roblox Studio through the official Roblox creator tools, then sign in and open a baseplate project. Spend some time locating the Explorer, Properties, viewport, and test controls. Knowing where these panels live reduces friction, because you can inspect an object, change it, and immediately see the result.
Treat the editor as a set of understandable systems instead of one intimidating screen. Select a part and experiment with its position, size, color, and material; then undo changes that do not help. Save often with a descriptive filename, and keep a starting version so experiments never destroy your base.
Choose an Achievable Idea
Choose an idea that can be explained in one sentence and completed with a number of objects. An obstacle course, delivery route, or timed collection challenge works well because the player understands the goal. Limit the first version; finishing a compact loop teaches more than endlessly expanding a vague world.
Define the Player Objective
Write down what players should do during their first two minutes, what counts as success, and what happens after success. This simple outline becomes your design filter. If a new feature does not clarify the objective or make the journey more enjoyable, postpone it. Clear priorities protect beginners from unnecessary complexity.
Plan a Tiny Milestone
Break the project into milestones that produce something playable. First block out the route, then add a spawn point, create one obstacle, and finally connect the ending to a reward. After every milestone, press Play and ask whether the experience works. Frequent checkpoints make mistakes smaller and easier to diagnose.
Build a Readable Map
Start with a simple layout that guides attention instead of covering the player with decoration. Use paths, platforms, walls, and landmarks to create a clear relationship between starting point and goal. Leave enough space for movement, and use repeated shapes consistently. Readability matters more than visual scale in a first project.
Build the map from anchored pieces, checking alignment from the player’s camera height. Place the spawn where the next action is obvious, then arrange obstacles in a gentle learning sequence. Early challenges should demonstrate timing or movement without demanding perfection. A welcoming opening helps players understand your rules before difficulty increases.
Add a Simple Interaction
Use One Clear Trigger
Add one interaction that changes the player’s situation in a visible way. A button can open a door, a pickup can increment a counter, or a finish pad can announce completion. Name objects clearly and keep the logic focused. One reliable interaction gives you a stronger lesson than several unfinished mechanics.
When you introduce scripting, change one variable or condition at a time and test immediately. Read error messages carefully instead of guessing, because the message often identifies a missing object or mistyped name. Keep a backup before each major edit. This habit turns debugging into a repeatable process rather than a frustrating mystery.
Test with Purpose
Use short test sessions with a specific question, such as whether players notice the door, reach the obstacle, or understand the reward. Watch what happens without changing everything at once. Record the exact step where confusion appears, reproduce it, and fix the smallest cause. Focused testing keeps progress measurable and calm.
Improve Through Feedback
Invite a few trusted testers who can describe what they tried, where they hesitated, and what they expected next. Ask open questions rather than requesting general praise. Their comments reveal problems you may overlook because you already know the solution. Thank them, compare patterns, and choose fixes that help the most players.
Prioritize improvements by impact and effort. Fix a blocked route, confusing instruction, or broken interaction before polishing a minor decoration. Re-test after each meaningful change, since one fix can create another problem. Keep a short change log with the reason for each edit; it teaches you to make deliberate design decisions.
Publish Responsibly and Continue
Prepare the Experience
Before publishing, check the title, description, thumbnail, access settings, and player experience from start to finish. Remove placeholder text, confirm that required assets behave correctly, and avoid promising rewards or features you cannot deliver. A responsible release sets accurate expectations and protects your reputation while you learn how players respond over time.