Roblox Studio can feel enormous when every panel, button, and setting appears at once. Gain confidence by completing small tasks with a clear purpose instead of memorizing everything. This guide gives beginners a practical route from opening the editor to making a simple playable space, with each new concept connected to an immediate result.
Learning becomes easier when you treat the editor as a workshop rather than a test. You will inspect the interface, place objects, adjust properties, and play your creation often. Each cycle should answer one question: what changed, why did it change, and what should you try next? This habit turns confusion into evidence.
Understand the Roblox Studio Interface
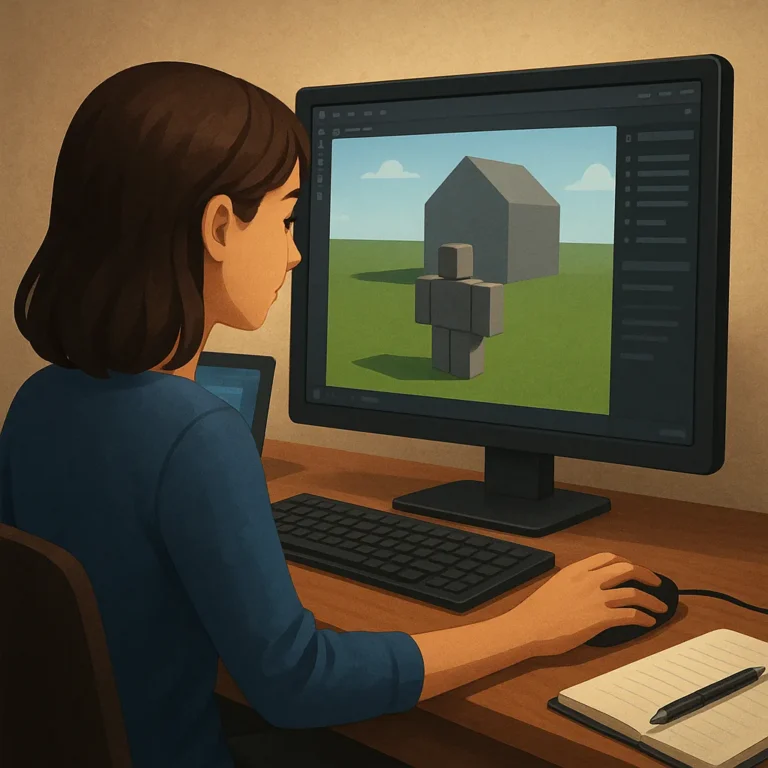
The start screen offers several ways to begin, but choose a blank baseplate for your first practice project. Look for the Explorer and Properties panels, then notice the central viewport where your world appears. If a panel disappears, use the View menu to restore it. Knowing where tools live prevents frantic searching later.
Spend a minutes moving the camera before building anything. Practice orbiting, zooming, and panning so you can inspect both large spaces and tiny details. Select an object by clicking it, then observe its position, size, and material settings. These movements make later building more deliberate because you will see exactly where each change belongs.
Build a Small Playable Environment
A small environment is better practice than a city because it gives you room to finish, test, and revise. Start with a floor, a path, a platform, and a destination. Keep shapes readable and leave space around them. Your goal is not perfection; it is a scene that shows where a player can go.
Plan Before You Place
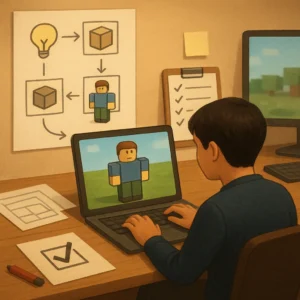
Before adding detail, decide what the player should notice first and where the player should finish. Sketch the route with blocks, then walk through it in play mode. Ask whether the destination is visible, whether obstacles feel fair, and whether movement has a clear rhythm. Planning this lightly saves time without removing creative freedom.
Build With Readable Shapes
Use shapes first, such as floors, walls, ramps, and markers. Duplicate pieces when you need repeated forms, and move them with care so paths remain aligned. Change one property at a time while learning what it does. A palette of materials and colors can make your space easier to understand and easier to improve.
Learn Parts, Objects, and Scripts
Every item in a place is an object with properties that describe its appearance or behavior. Select parts and read settings before changing them. Notice names, sizes, positions, colors, and collision options. Clear names help you find things later, especially after your scene grows. Treat the Explorer as an organized map, not a drawer.
Add Behavior Carefully
Scripts add interaction, but beginners should introduce them after the scene feels understandable. Start with one small behavior, such as opening a door, changing a light, or moving a platform. Read the script and change one detail before testing. If code fails, return to the last working version instead of changing everything at once.
Test in Short Cycles
Testing is part of building, not a ceremony. Click Play after a change and examine the experience from the player’s perspective. Can you reach the destination? Do objects block movement unexpectedly? Does the camera show information? Write down answers briefly, then return to editing. Short cycles reveal problems while they are easy to understand.
Use play mode to check more than appearance. Walk each route, jump onto platforms, look behind walls, and watch for gaps or trapped areas. Test at the speed a player might use, not only the path you know. Notice confusing landmarks and camera views. Your environment should guide attention without forcing players to guess.
Debug With Questions
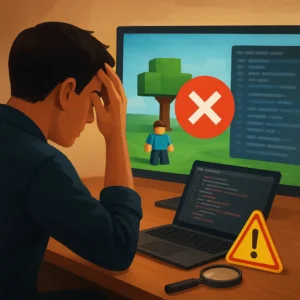
When something behaves strangely, isolate the smallest cause. Check whether the object is in the position, whether a property changed, and whether a script is running. Reproduce the problem after one adjustment rather than making guesses. This method may feel slower for a minute, but it produces understanding and prevents the mistake from returning.
Choose the Next Skill
Once your scene works, resist the urge to learn every feature immediately. Choose the next skill based on what your project needs. You might practice terrain, interface design, animation, sound, or more structured scripting. Pick one narrow outcome, such as a menu that opens or a character that responds. A target keeps progress visible.
Build a routine around repeatable sessions. Spend a session watching a tutorial or reading documentation, then close the reference and recreate the idea yourself. Keep a note of what worked, what failed, and what question remains. Returning to unfinished work is valuable because memory improves when you solve a problem without starting from zero.
Keep Improving
Share a test with someone you trust when the project is ready. Ask them to describe what they noticed, where they hesitated, and their expectations. Do not defend each choice; listen for patterns you missed. Then make an improvement, test it, and record the lesson. This turns feedback into a skill.